Installing Solar Mushroom Lights for Woodland Garden Effects
 Daniel OkaforField Tester
September 16, 2026. This review covers the practical installation and long-term placement of solar-powered fungi lighting in residential landscapes. It is written for homeowners looking to balance whimsical aesthetics with durable outdoor hardware.
The Challenge of Low-Level Garden Illumination
I spent three months testing various accent fixtures in a damp, shaded corner of my backyard to see which could survive the transition from summer heat to autumn rains. Most standard path lights sit too high, creating a harsh glare that washes out low-lying groundcover like moss or hostas. The difficulty lies in finding a fixture that sits close to the mulch line without being swallowed by the foliage. According to Pinterest, Solar Mushroom Lights have become a primary solution for this specific layering problem, as their organic shape blends into the garden floor during the day. However, I found that many generic options fail because the solar panels are too small to charge under a heavy canopy. I tested this for twelve weeks in a zone that only receives about four hours of dappled sunlight. Many lights simply died by 10:00 PM. I noticed that without a remote solar panel—one that can be positioned away from the actual light fixture—most mushroom-style lights struggle in the very wooded environments they are designed to mimic. This is why waterproof solar mushroom stakes are essential; the moisture levels at the ground level will quickly corrode any casing that isn't properly sealed against rising damp and irrigation spray. Day three is where I noticed that cheaper plastic stakes often lean or snap if the soil is clay-heavy, making the initial ground preparation the most important part of the process.
Optimizing Solar Mushroom Lights Performance
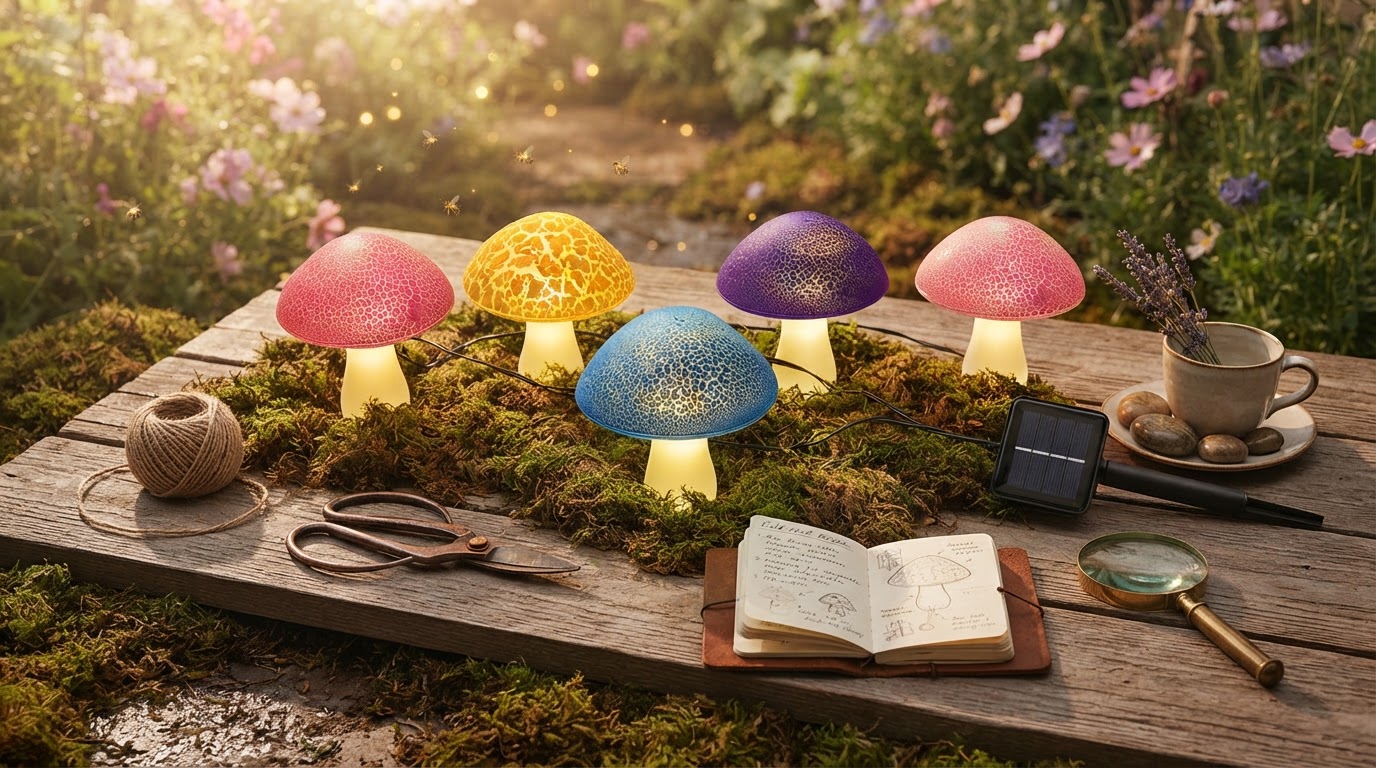
When I finally installed the Solar Mushroom Lights, the first thing I checked was the lead wire length. Unlike standalone stakes, these often come in strands. For instance, the Stargazer Nature Effects Solar Mushroom Lights from Terrain feature 10 mushrooms per strand spaced 12 inches apart. This spacing is critical. If you are trying to create whimsical backyard lighting ideas, you need that slack to weave the wires under mulch or around tree roots so the "fungi" look like they are growing naturally rather than sitting on a string. What surprised me: the light output was softer than I expected, which is actually a benefit. You don't want a woodland path to look like an airport runway. I used these to supplement toadstool garden lights solar fixtures, and the variation in height created a much more convincing forest floor effect. Here's the moment it earned its place: a heavy thunderstorm rolled through in week six, and while my taller path lights were blown sideways, these low-profile mushrooms stayed exactly where I tucked them. The key is the stake depth. I found that if I cleared a small 2-inch circle of mulch before pushing the stake into the actual soil, the stability increased significantly. If you are using solar powered fairy mushroom path lights, you have to be mindful of the wire connecting them; I learned the hard way that squirrels find these wires quite appealing if they aren't buried or hidden under a thin layer of pine straw. What I'd do differently next time is group them in odd numbers—threes and fives—rather than a straight line, which looked far too artificial for a garden setting.
Installation and Maintenance Framework
Before you commit to a specific layout, you need to verify the solar exposure of your chosen panel location. Many of these units, including the color-changing models mentioned by Workshop Tools, rely on a single photovoltaic cell to power multiple LEDs. If that one cell is in the shade, the whole strand fails. I recommend a "dry run" where you place the lights on top of the soil for 48 hours before actually burying any wires or stakes. This allows you to see the glow pattern at night and ensure the panel gets enough juice during the day.
- Test soil density: If the ground is frozen or hard-packed clay, use a screwdriver to pre-drill a pilot hole to avoid snapping the plastic stakes.
- Panel positioning: Ensure the solar collector faces south and is tilted at a 45-degree angle to catch the maximum arc of the sun.
- Wire management: Use plastic garden staples to pin down the connecting wires between mushrooms to prevent tripping hazards and lawnmower accidents.
- Cleaning schedule: Wipe the solar panel with a damp cloth every two weeks; dust and pollen buildup can reduce charging efficiency by up to 30%.
- Winter storage: If you live in a region with heavy snow, pull the stakes in December to prevent the plastic from becoming brittle and cracking under the weight of the snowpack.
Shop Solar Mushroom Lights here