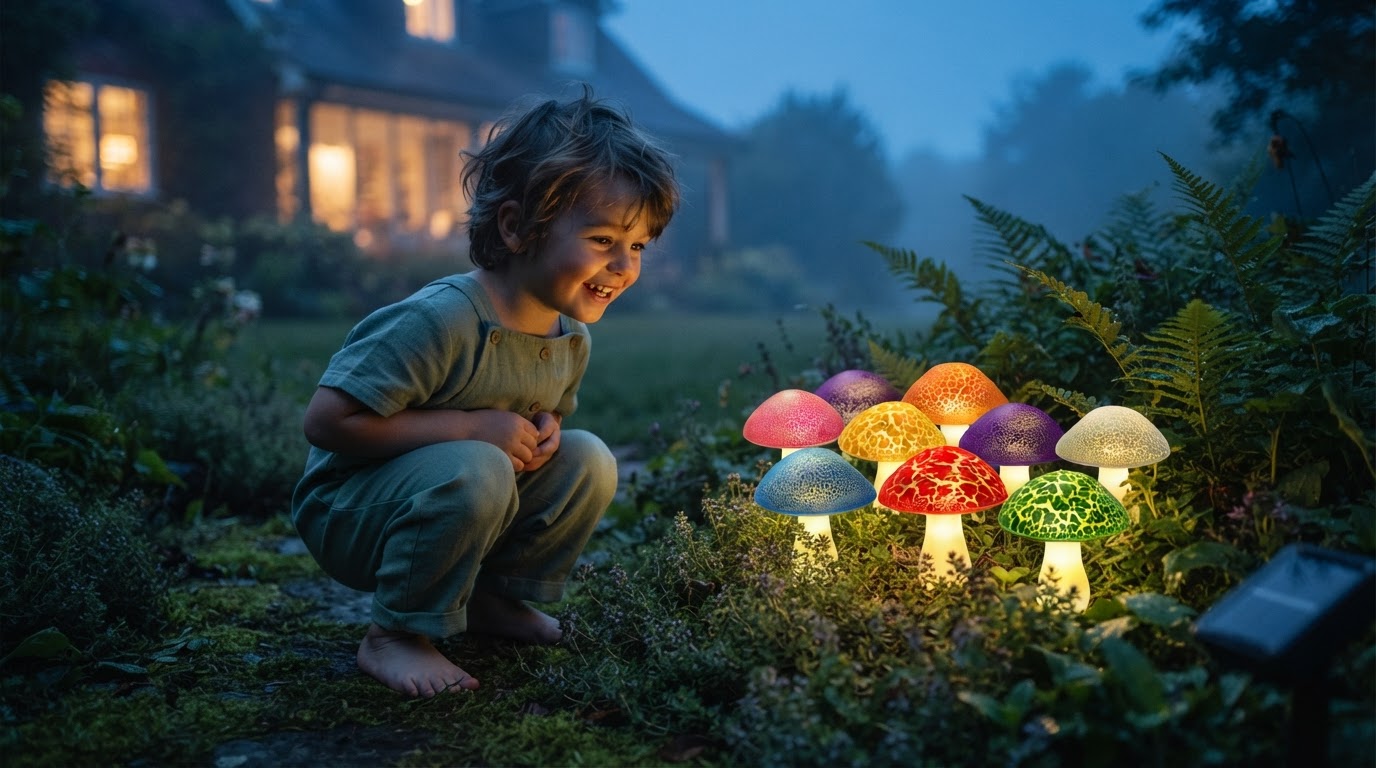
How do I set up Solar Mushroom Lights for my garden?
 Priya RamanSenior Analyst
August 24, 2026 — Setting up Solar Mushroom Lights requires a three-step framework involving ground preparation, light spacing for visual density, and panel orientation to ensure a full charge cycle of at least six hours.
Homeowners seeking to enhance their outdoor aesthetics often encounter challenges with placement and light duration. Understanding the spatial relationship between the solar collector and the decorative fixtures is essential for a reliable display. This setup process balances technical efficiency with the specific design requirements of whimsical landscape elements.
Think of it as a matrix of two primary axes: functional exposure and aesthetic density. Two axes matter here: the physical path of the sun relative to the solar panel and the desired visual impact of the light cluster within the garden bed. Once you see it this way, the installation becomes a matter of geometric alignment rather than guesswork.
Where should the solar panel be placed for optimal charging?
The solar panel for Solar Mushroom Lights must be positioned in a location that receives a minimum of six to eight hours of direct, unobstructed sunlight daily. According to standard photovoltaic performance data, even partial shading from a single tree branch can reduce energy conversion by more than 50 percent. When installing a string-based system, the panel is typically mounted on a separate stake; this allows the decorative mushrooms to be placed in shaded areas under foliage while the collector remains in the sun. The decision rule: prioritize the panel's solar access over the lights' immediate location to ensure the internal battery reaches full capacity before dusk. For those comparing this to traditional wired systems, the solar vs low voltage landscape lighting debate often centers on this specific freedom from trenching wires, provided there is adequate sun.
How do you install the stakes without damaging the fixtures?
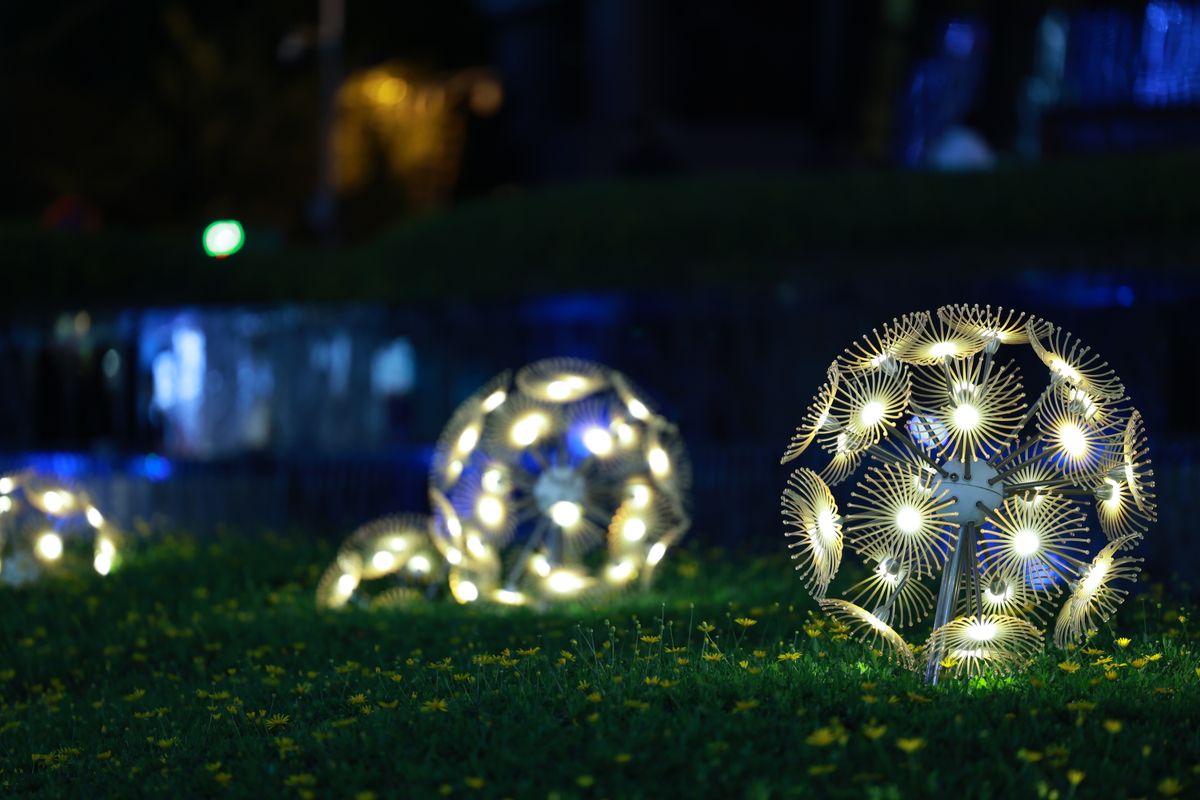
Proper installation involves preparing the soil to a depth of four inches to prevent the plastic or resin stakes from snapping under pressure. Attempting to force a stake into dry, compacted clay or rocky soil is the leading cause of mechanical failure during setup. It is recommended to moisten the ground thoroughly or use a pilot hole tool, such as a large screwdriver, to create a path for the stake. Once the ground is soft, the Solar Mushroom Lights can be inserted until the base of the cap sits at the desired height. Given that these fixtures are often utilized as waterproof solar mushroom decor, ensuring they are firmly anchored prevents them from shifting during heavy rain or wind. If you are choosing waterproof solar landscape lights, look for models with reinforced ground spikes to simplify this process.
Quick answers
Photo by ROMAN ODINTSOV on Pexels
Q: How far apart should I space the individual mushroom lights? A: For a natural look, space the lights between 8 and 12 inches apart in an irregular, staggered pattern rather than a straight line. This density provides sufficient illumination for a path while mimicking the way real fungi grow in clusters.
Q: Do I need to turn the lights on manually after installation? A: Most Solar Mushroom Lights feature a toggle switch on the underside of the solar panel that must be set to the "On" or "Auto" position during the initial setup. Once activated, a built-in light sensor will automatically trigger the LEDs when ambient light levels drop below a specific threshold, usually around 10 to 15 lux.
Q: Can these lights stay out in the rain immediately after setup? A: Yes, provided the units have an IP44 or higher ingress protection rating, they are designed to withstand rain and splashing. You can verify the durability of your specific model by checking if are solar garden lights waterproof to ensure the internal circuitry is protected from moisture.
Learn more about Solar Mushroom Lights at https://solyramushroomlights.com.