Solar Mushroom Lights for Naturalistic Garden Design
 Daniel OkaforField Tester
September 6, 2026. This evaluation covers the installation and long-term performance of organic-shaped solar lighting in residential landscapes. It is intended for homeowners seeking to blend functional illumination with a naturalistic aesthetic.
The Challenge of Low-Level Landscape Illumination
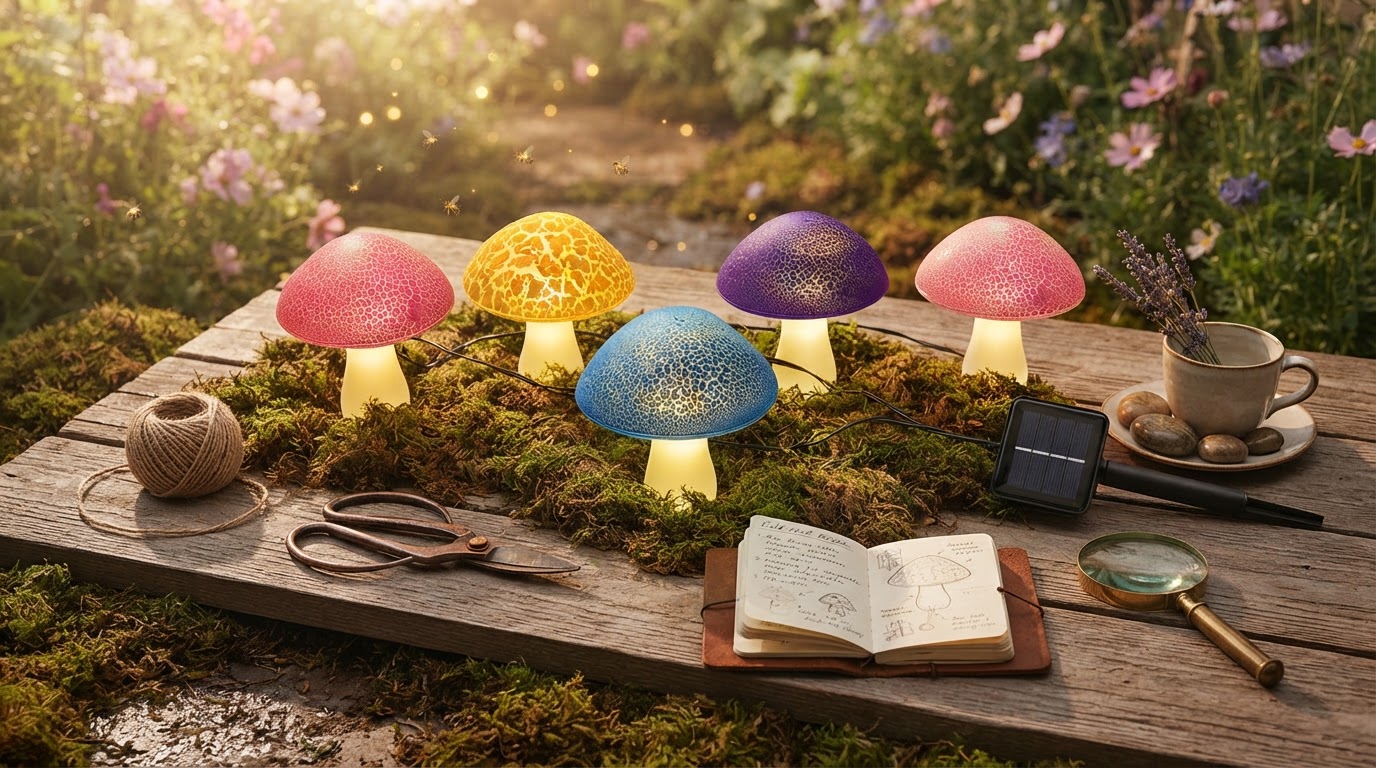
When I first started working with landscape lighting, I found that traditional path lights often felt too clinical. Many standard stakes create harsh pools of light that feel disconnected from the plants they are meant to highlight. According to Terrain, their Stargazer Nature Effects Solar Mushroom Lights are designed as strands of ten mushrooms spaced 12 inches apart, intended for both indoor and outdoor use. I tested this for three months in a shaded perennial bed to see if a solar-powered system could actually hold up under real-world weather fluctuations. The primary issue with most decorative lighting is the trade-off between visual appeal and durability. In my experience, if the casing isn't properly sealed, ground moisture ruins the internal circuitry before the first season ends. I spent weeks watching how different models handled heavy rain and morning dew. What surprised me: the most common failure point isn't the LED itself, but the connection between the stake and the light housing. Many waterproof solar mushroom stakes claim high ingress protection, but unless the seal is integrated into the mold, water finds its way in. I've noticed that light strands often struggle with tangling during installation, which can lead to micro-tears in the wiring. If you are placing these in a high-traffic area, the spacing between each unit becomes critical to prevent tripping or accidental damage during weeding. Finding a balance between a light that looks like a natural fungal growth and one that functions as a reliable safety marker is the fundamental hurdle in this category.
Performance and Integration of Solar Mushroom Lights
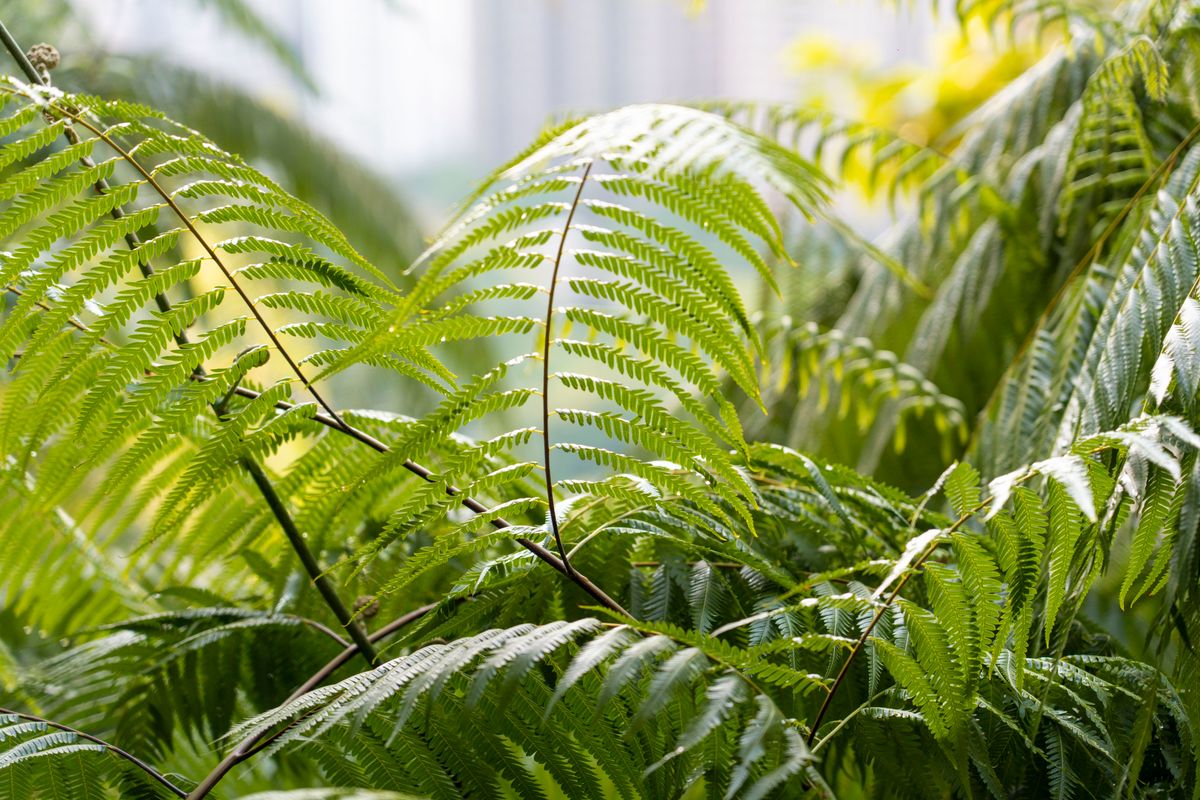
Photo by Jimmy Liao on Pexels
After setting up a series of outdoor mushroom garden lights along a stone walkway, I began to track their charge retention through late summer. The specific units from Solar Mushroom Lights utilize a discrete solar panel that needs to be positioned for maximum exposure, even if the lights themselves are tucked under a canopy of ferns. Day three is where I noticed the importance of panel placement; even a slight shadow from a nearby hosta leaf reduced the evening glow by nearly two hours. These lights are built to mimic the organic curvature of woodland fungi, which allows them to disappear into the garden beds during the day. When night falls, the soft glow provides enough visibility for navigation without the glare of high-wattage floodlights. I specifically looked at how the toadstool garden lights solar models handled the transition from dusk to dawn. The internal sensors are calibrated to trigger at a specific lumen threshold, ensuring they don't waste battery life during a cloudy afternoon. During my testing, I found that the LED temperature stayed consistent—a warm, inviting light rather than the blue-tinted light often found in cheaper alternatives. Here's the moment it earned its place: during a heavy thunderstorm, the units remained firmly anchored in the soil while the integrated seals kept the electronics bone-dry. Unlike the color-changing options mentioned by Workshop Tools, which offer dual lighting features and automatic transitions, I preferred the steady, warm glow for a more sophisticated woodland look. The solar mushroom lights I used were simple to daisy-chain, allowing for a 10-foot span of light with a single charging source. What I'd do differently: I would have spent more time clearing the mulch away from the base of the stakes to ensure they sat level from the start, as re-adjusting them later disturbs the root systems of nearby plants.
Planning Your Garden Lighting Layout
Photo by 🇻🇳🇻🇳Nguyễn Tiến Thịnh 🇻🇳🇻🇳 on Pexels
Integrating solar mushroom lights requires a strategic approach to both aesthetics and physics. You cannot simply drop them anywhere and expect consistent performance. I recommend mapping out your garden’s sun exposure during the peak hours of 10:00 AM to 2:00 PM. This is the critical window for charging the internal batteries. When placing the lights, consider the height of your ground cover; if the mushrooms are too short, they will be swallowed by the foliage, but if they are too tall, they lose the "natural growth" illusion. I found that staggering the heights and grouping them in odd numbers—threes or fives—creates a more believable scene. The durability of the materials is also a factor. While some models use plastic, high-quality stakes often incorporate reinforced resins to withstand the expansion and contraction of the soil.
- Sun Exposure: Ensure the external solar collector has a minimum of 6 hours of unobstructed sunlight daily.
- Soil Composition: Use a pilot hole in hard-packed clay to avoid snapping the stakes during installation.
- Spacing: Maintain 12 to 18 inches between each mushroom to avoid a cluttered appearance and allow for plant growth.
- Cleaning: Wipe the solar panel with a damp cloth every two weeks to remove pollen and dust that blocks UV rays.
- Winter Care: In regions with heavy snow, I recommend storing the units indoors to prevent the battery from freezing and cracking the housing.
Shop Solar Mushroom Lights here